Constructing a Gaming PC: Breakdown of Essential Processes
Assembling a gaming PC is like constructing your very own gaming beast! Excited to join the custom build realm? We've got you covered with expert tips and guidance from e1search. Experienced builders will help transform your gaming experience!
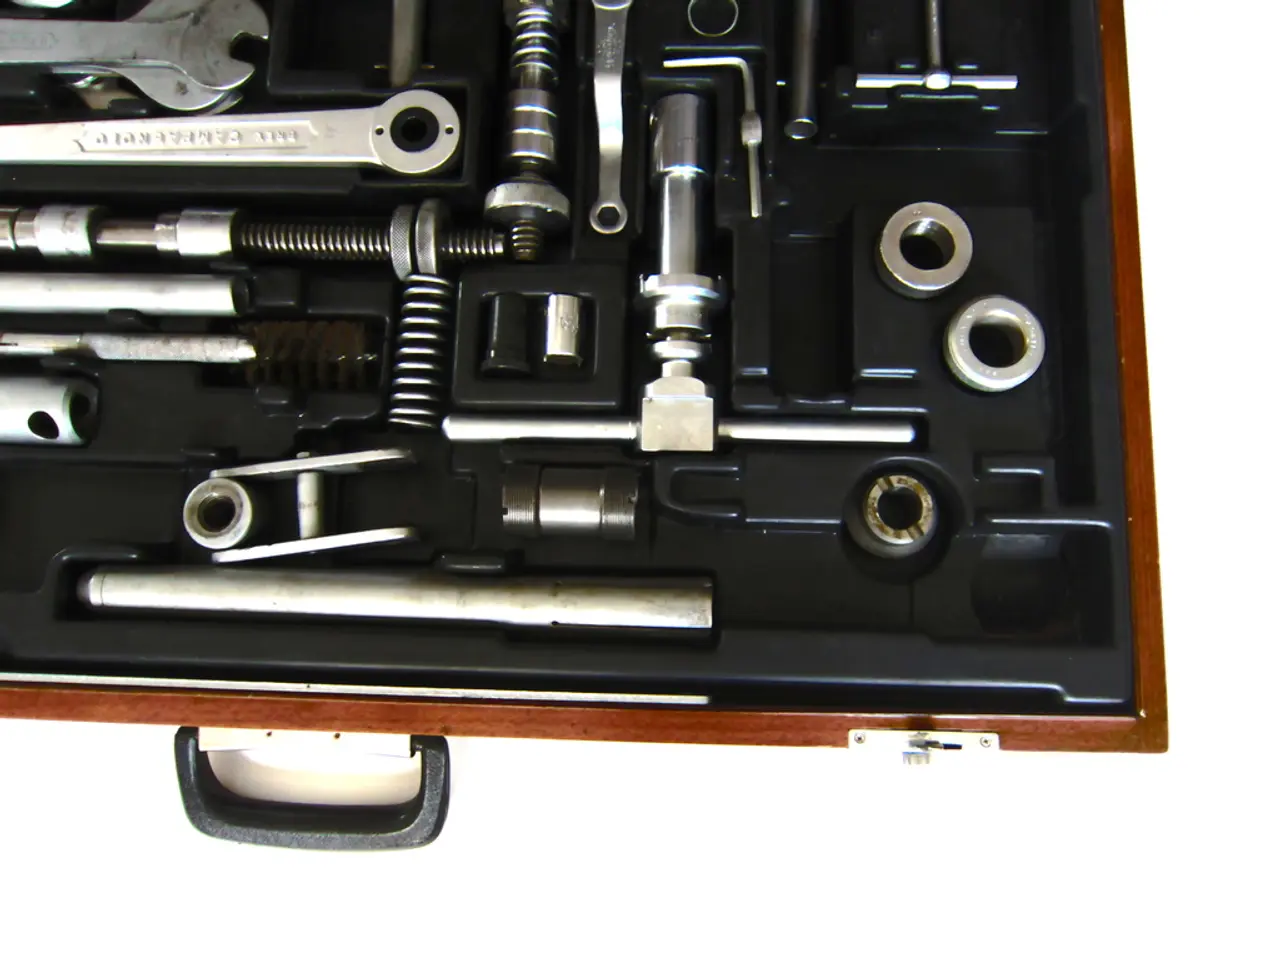
Toolbox for PC Assembly
Necessary Tools for Putting Together Your Gaming Machine
Building a gaming PC is akin to solving a complex jigsaw puzzle. To fit the pieces together, you'll need the perfect tools. Here's the rundown:
- Phillips Screwdriver #2: The workhorse tool that handles most of your screwing needs during the build.
- Tweezers: Helpful for retrieving and placing small components, like cable ties.
- Flashlight: Useful to shine light in dark and tricky areas.
- Anti-Static Wrist Strap: Essential to guard components from electrostatic damage.
- Cable Ties or Velcro: Great for keeping cable management neat and organized.
- Soft Cloth: Useful for cleaning fingerprints and dust from parts.
Building a gaming PC doesn't require tons of fancy equipment. However, each piece is vital for an effortless build.
Organizing Your Workspace for PC Building
The next major step is setting up a workspace. A prepared space guarantees an easier and more enjoyable build. Here's how to do it right:
- Choose a Clean, Flat Surface: A large desk or dining table will do if it's wiped down.
- Ensure Good Lighting: A well-lit workspace makes it easier to spot those minuscule screws and connections.
- Avoid Static: Avoid building on carpets, as they generate static electricity.
- Ground yourself: Touching a metal surface before handling components helps discharge static electricity.
- Prep Ahead: Arrange your tools and parts in a systematic manner for easy access.
- Keep Food and Drink Away: Inhibit potential accidents by keeping food and drinks away from your workspace.
Following these steps makes assembling your gaming PC a breeze.
Static Damage Prevention
Now we'll discuss the importance of static protection measures. Moving around creates static electricity. Although it might feel as just a slight zap, this can harm sensitive electronics. Here's why taking precautions is crucial:
- Prevent Damage: The danger of static electricity is destructive. Even a small static shock can damage electronics.
- Reliability: Static protection guarantees the long-term reliability of your investment.
Wearing an anti-static wrist strap and avoiding building on carpet are the cornerstones of static protection.
Promote safety first by taking a minute to prevent problems later. A strong gaming setup is worth the investment in safety measures.
Selecting the Right Parts
Compatibility Among Components
Matching parts to ensure they function properly is paramount when assembling a gaming PC. Here's how to check compatibility:
- CPUs and Motherboards: Check the CPU socket on the motherboard matches the one on the CPU. Ensure the CPU brand and model is compatible with the motherboard.
- RAM and Motherboards: Make sure the memory slots and type of RAM (DDR4 or DDR3) match the motherboard.
- Graphics Cards: Verify the GPU will fit in the case with proper airflow, and that the motherboard has the correct PCIe slot to connect the GPU.
- Power Supplies: Confirm that the PSU provides adequate wattage (total power) to power all components.
- Storage Drives: Decide between SSDs and HDDs based on speed and size needs. Ensure the motherboard supports the storage type you choose.
Ensuring compatibility minimizes errors and offers a foolproof structure for building your gaming PC.
Choosing the Perfect Motherboard
The motherboard functions as the backbone of your gaming PC, connecting and interfacing nearly every component. Factors to consider:
- Form Factor: Choose the size based on your case, with ATX being the most common.
- Chipset: Opt for a chipset that supports your CPU and offers essential features such as overclocking.
- Future-Proofing: Consider the motherboard's capacity for future upgrades. Look for motherboards with extra RAM slots and multiple PCI slots.
- Ports and Connectivity: Choose a motherboard with sufficient USB ports, audio ports, and any other preferred connections like HDMI.
- BIOS/UEFI: The motherboard's firmware (BIOS or UEFI) allows you to manage hardware settings. UEFI offers a more user-friendly interface and more advanced features.
- Brand and Support: Opt for a well-known brand with excellent reviews for better support and reliability. Good customer support can make a big difference when encountering issues.
For more detailed guidance, check out this Motherboard Overview. Here you'll find in-depth specifications and helpful user guides.
Choosing a Reliable Parts Picker
Using a parts picker simplifies the process of selecting compatible components for your gaming PC. These tools help by:
- Verifying component compatibility in real-time.
- Checking wattage requirements.
- Providing compatibility information for your CPU, GPU, and motherboard.
To have an easier and error-free experience while building a gaming PC, make use of parts picker tools.
Assembling Your Gaming Powerhouse
The First Steps in Assembling a Gaming PC
- Prepare a Clear Workspace: A big table, good lighting, and low static surroundings set the stage for a smooth assembly.
- Gather all parts like the case, CPU, GPU, motherboard, RAM, storage drives, PSU, and cooler.
- Open the Case: Remove any plastic covers from the inside of the case.
- Prepare the Motherboard: Before you put the motherboard in the case, install the CPU, RAM sticks, and an I/O shield (the metal panel) facing outward on the back of the case.
Joining the Pieces Together
- Place the motherboard inside the case, aligning it with the vertical stands inside.
- Install the CPU cooler on the motherboard, securing it with screws or retention mechanisms.
- Attach the case side panels with screws or latches.
- Install the graphics card, securing it with screws.
- Add the storage drives, such as SSDs and HDDs, in their respective drive bays.
- Set the power supply in place, securing it with available screw holes or brackets.
- Connect all the cables, such as the SATA and power connectors for storage drives, the 8-pin and 4-pin connectors for the CPU, and the power cables for the graphics card.
- Connect the motherboard's front panel connectors to the I/O shield.
- Close the case and fasten the side panels securely.
Your gaming PC build is almost complete! Secure the cables neatly for optimal airflow and easy accessibility.
Optimizing Your Gaming Performance
Benchmarking Tools
To test your PC's performance, you can use reliable benchmarking software, such as 3DMark or Superposition. These tools help analyze your PC's overall performance, as well as individually assess the CPU, GPU, and RAM. Look for the highest frames per second (FPS) and lower temperatures to guarantee the best gaming performance.
Cooling Your Gaming Gear
Cooling is vital to prevent overheating. Choose from liquid cooling or air cooling. Each type has its pros and cons:
- Air Coolers: These are cost-effective and have easier installation. However, larger models take up more space inside the case.
- Liquid Coolers: These are more efficient at cooling and quieter, but more expensive and have a steeper learning curve.
Decide based on your budget, preference for noise level, and space inside the case.
Tweaking Your Settings
Optimize your gaming experience by adjusting your in-game settings, such as visual effects, resolution, and frame rates:
- Lower visual effects that you don't need, such as motion blur.
- Reduce or eliminate unnecessary background tasks and applications.
- Keep your drivers updated, especially the GPU driver, to improve performance.
Follow these steps to enjoy smooth, satisfying gaming sessions!
Preparing for Upgrades
Planning for Future PC Upgrades
To ensure your gaming PC keeps pace with technology, it's crucial to be prepared for upcoming upgrades:
- Decide on a Motherboard: Select a motherboard with extra slots for upgrades, such as additional RAM or a second graphics card.
- Monitor Usage: Check CPU and GPU usage rates regularly. If they're consistently high, it might be time to upgrade.
- Follow the Market: Keep track of the latest technology trends to make informed decisions when it comes time to upgrade.
By planning for future upgrades, you save both time and money in the long run.
Maintaining Your Gaming PC
Regular Maintenance
Keep your gaming PC running smoothly by performing regular maintenance, such as cleaning and updating software:
- Clean your PC every three to six months using a can of compressed air to remove dust from inside the case.
- Verify that your operating system and drivers are updated for optimal performance.
- Run diagnostic tools to check for potential issues and errors.
Troubleshooting
When encountering issues, troubleshoot and address them accordingly:
- Check for background tasks and close any unnecessary applications to free up resources.
- Update device drivers, especially the graphics card driver, to fix bugs and improve performance.
- Look for software or hardware-related issues by running a system integrity check or scanning for malware.
By following these steps, you ensure a seamless gaming experience for years to come!
Building a gaming PC is an exciting endeavor that offers great satisfaction. With the right tools, workspace, and knowledge, you'll transform your plain gaming rig into an ultimate gaming powerhouse! Good luck, and happy building!
- For fitting the complex puzzle of a gaming PC together, you'll need essential tools like a Phillips screwdriver #2, tweezers, flashlight, anti-static wrist strap, cable ties or Velcro, and a soft cloth.
- When selecting the right components, it's important to check compatibility among CPUs and motherboards, RAM and motherboards, graphics cards, power supplies, and storage drives to ensure proper function and minimizing errors.


